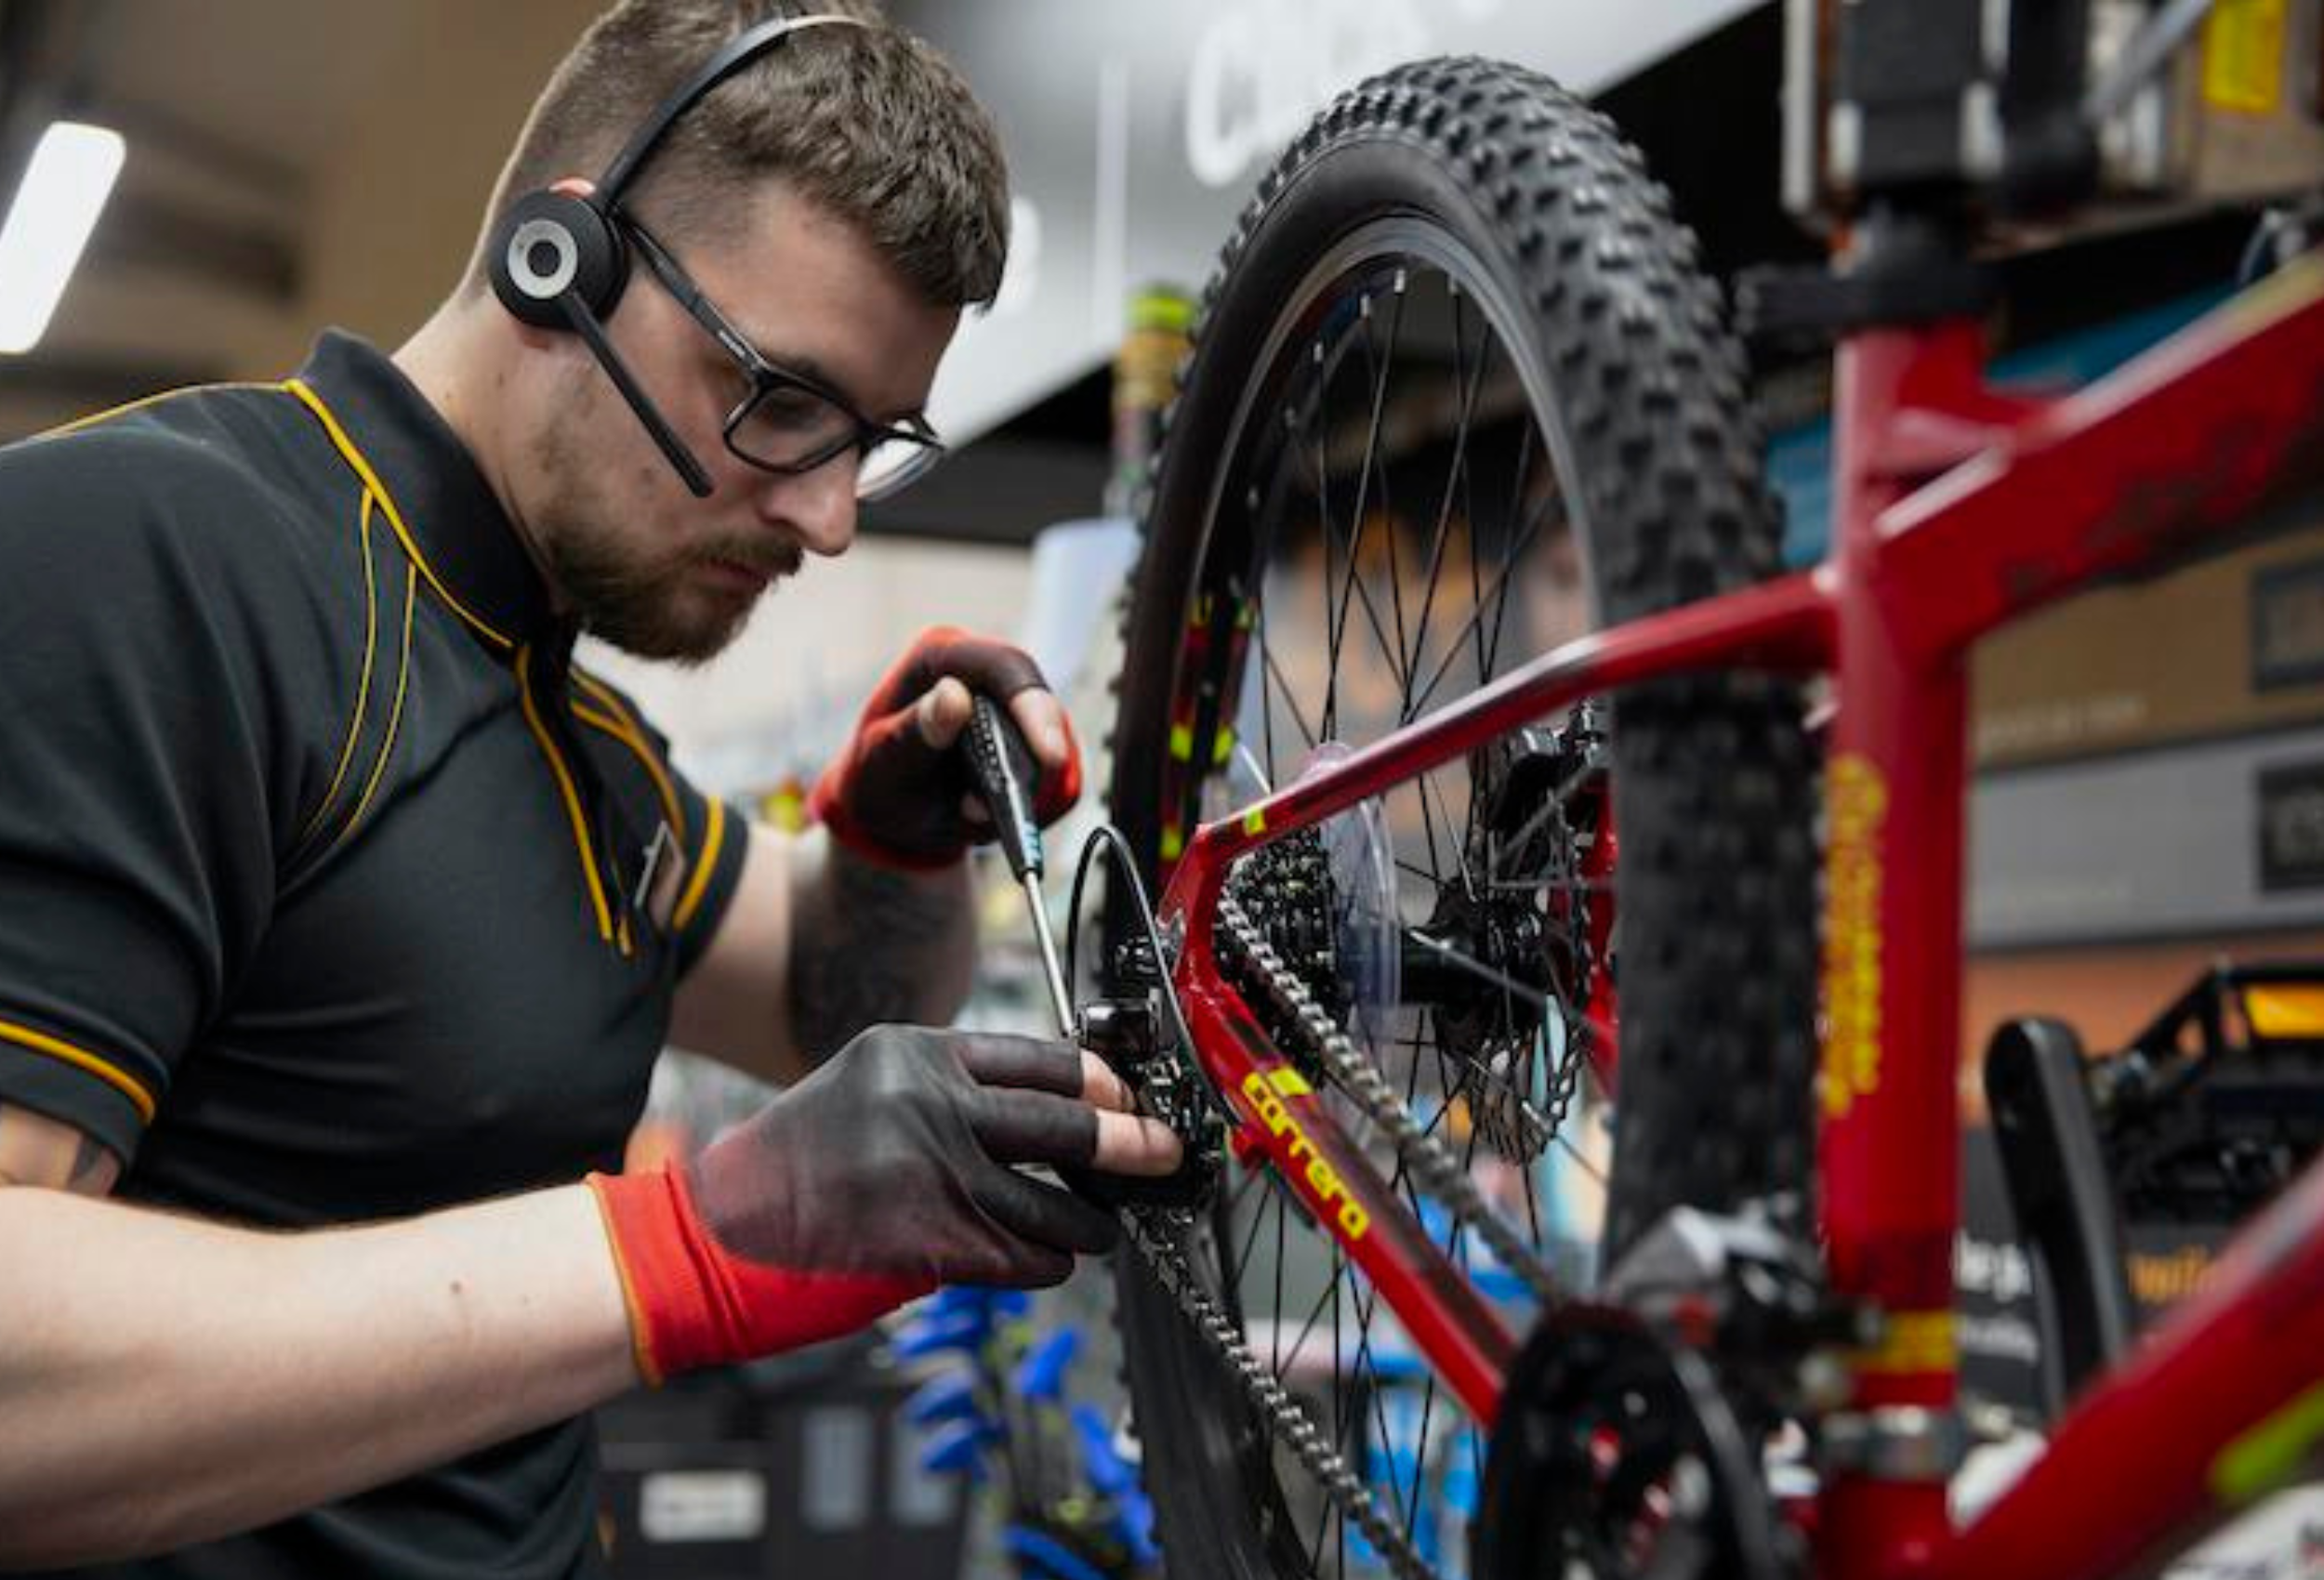
Bicycle Chain To enjoy smooth and hassle-free bicycle rides, one of the important maintenance activities you must undertake is on your cycle’s chain. While it seems like a simple chain, it is made up of several links, rollers, and plates, all moving elements that keep your bicycle functioning smoothly.
When you are outdoors enjoying exhilarating rides, your bicycle chain acquires souvenirs in the form of grit, mud, and other similar particles. Over time if the chain is left unclean, this grit may build into an effective grinding paste damaging the metal. The upshot will be non-smooth pedaling, noisy shifting, and worst of all, needless wear and tear. You don’t want that.
Every biker wishes the maximum performance and perfect rides each time and does not expect to replace bicycle chains regularly.

Follow regular cleaning
You need to follow regular cleaning and degreasing, and lubrication to preserve your bicycle chain. We have described the details of each of these responsibilities. But first, set your bicycle in a such that you may easily wipe the chain without knocking the bicycle over. An efficient approach to achieve so if you do not have a bicycle stand is to put it upside down so that it rests on its seat and handlebars. Alternatively, you may lean your bicycle onto a wall or something comparable. You need to be able to operate the pedals with your hand effortlessly.
The tools and cleansers that you need to degrease and clean the chain can be simple soap mild detergent and water or a specialist degreaser spray that is commonly available online. Even your local bicycle store may stock it. You could make do with a cloth, better even if you had a brush or set of them or a specifically constructed degreaser tool. You will also need another dry towel to wipe up all the water from your bicycle chain after you have cleaned it.
How to degrease and clean your bicycle chain?
1) Some bikers opt to remove the chain off the bicycle and degrease it before putting it back.
2) A more common way is to degrease and clean the chain without removing it from the bike.
Do whatever you are comfortable with and attain the outcome of a tidy chain.
Cleaning and Degreasing the Chain
Step 1: If using a cloth, ensure sure it’s lint-free. Give it a couple more folds and spray a good quantity of the degreaser liquid over it. Hold the bottom section of the chain firmly with the degreaser-sprayed cloth. At the same moment, use your free hand to pedal the chain backward. The grit and grime will come free. Repeat this procedure until the rag is somewhat clean and the grit is removed from the chain. In a pinch, you can use baby or wet wipes.

You also receive a unique chain cleaning tool where you load the chain via the portable gadget. It includes numerous brushes to clean both the top and bottom of the chain simultaneously. Fill the device with the degreaser solution as recommended. Load the chain through this tool, shut it, and then move the pedal backward, ensuring the complete chain has gone through this device. The brushes in this device clean the nooks and crannies of the chain, dislodging any dirt caught there.
If you opt to use a toothbrush or any other firm bristle brush or a 3-way bristle brush appropriate for bicycle chains, just spray the bristles with the degreaser solution. And keep it against the chain while you backpedal. You would have to conduct this step twice. Once while performing the top of the chain and then the bottom of the chain.
Remember, execute the cleaning activity in the chain portion below your drivetrain for an upright-mounted bicycle.
Now you are guaranteed to observe a clean spanking chain. But wait, the cleaning and degreasing procedure does not finish there.
Step 2: You should clean the sparking chain immediately with warm and soapy water and rinse it completely. You want to guarantee that any remains of grit are totally washed out so that the new lubrication you will be applying will cling to the chain.
Step 3: We can’t emphasize this enough: dry the chain. Use a new, clean, dry cloth. Some riders advocate using a hairdryer or even a blower. Drying the inner section of the chain may be tough and may take time. But it would be important for you to take a few more minutes to guarantee the chain, particularly the inner links, plates, rollers, and pins are dry. It would be preferable if you had a dry chain before proceeding on to the next step, which is lubricating.
Lubricating your Bicycle Chain

Choose your lube. Use wet lubrication if you ride in wet, muddy circumstances and dry lube if you ride in dry conditions. But remember, the lubing frequency will have to be increased if you’re using a dry lube.
Lube the chain at the bottom area of the link. That means if the lubricant drops, it won’t fall onto another region of the chain. Now gently apply a little drop of lubrication on top of each roller in your chain. Make careful to aim the lubrication straight into your rollers. Getting grease on the outside of the chain will collect additional dirt. Move the chain along by backpedaling. Ensure you wipe off any extra lubrication, and you’re ready to bike!


